Do you use Google Docs or Slides to supercharge your productivity? Well, you’re not alone. Over 2 billion people use Google G Suite products!
Adding images is a staple feature included in most word processing and document creation tools. But if you’re moving from Microsoft Word or similar offline document processors, you may experience hiccups when embedding images to Docs or Slides.
We’re here to help! In this guide, you’ll learn:
- Up to 6 ways of inserting images into Docs;
- Cropping images and changing image colors;
- Adding alt descriptions and captions
- Saving images from Docs to your computer (this gives a lot of people trouble)
Let’s get started:
How to Insert an Image in Google Docs?
We’ll use Docs for the illustrations, but you can replicate the same steps on Slides. There are two main ways to insert images:
- Drag & drop
- Using the insert function
Option 1: Drag and drop
The quickest and simplest way to embed images to your document is to drag-and-drop them from your computer:
Step 1: Download the image or use offline images.
Step 2: Navigate to the image location using File Explorer.

Step 3: Click the image and drag it to the active Docs tab.
Step 4: Choose the Wrapping style by clicking the image and toggling between the three embedding options. Or access all settings by choosing ‘All image options.’
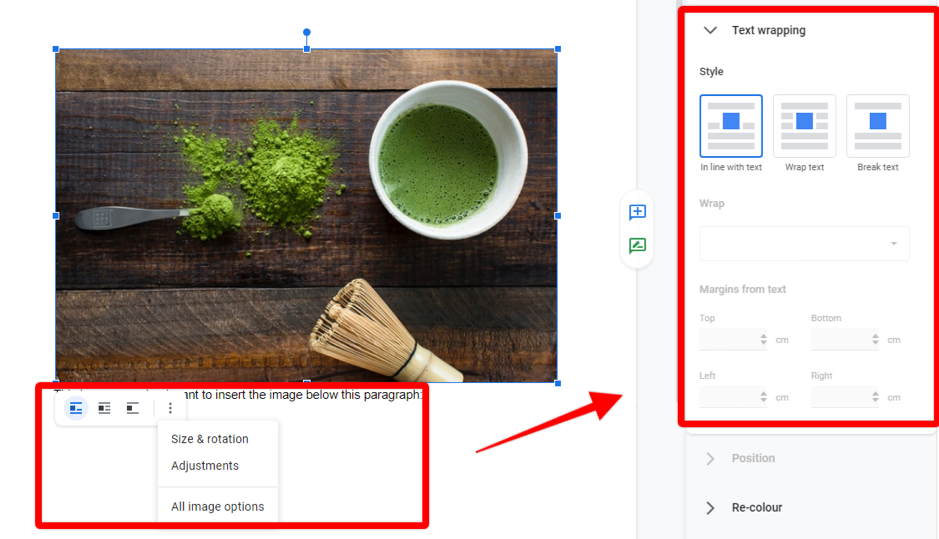
Positioning images with the Text Wrapping Style is pretty confusing to many people. So, how do the options work?
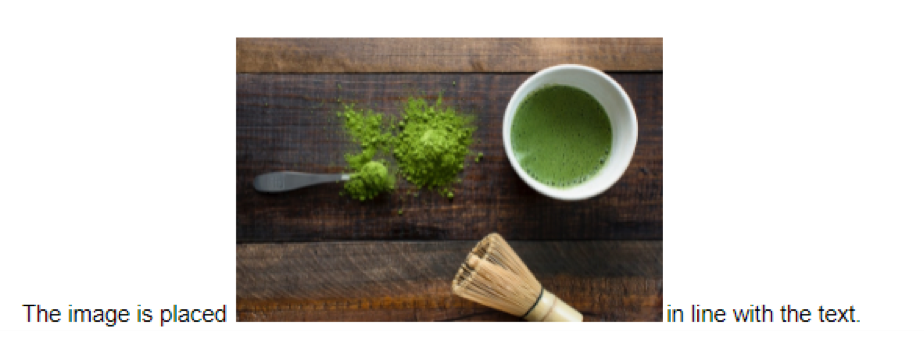
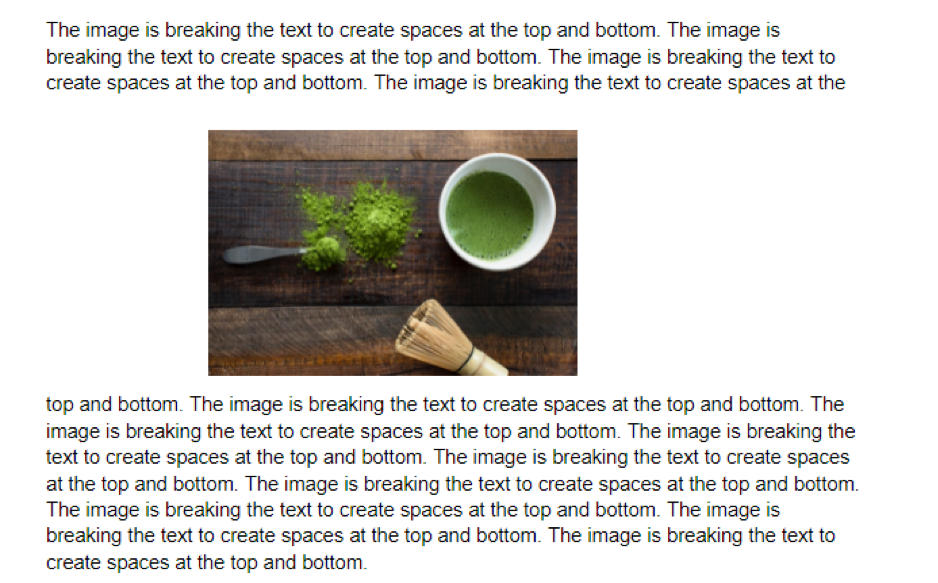
- Inline with text – The image is treated as a character and can be placed on the same line as the sentence.
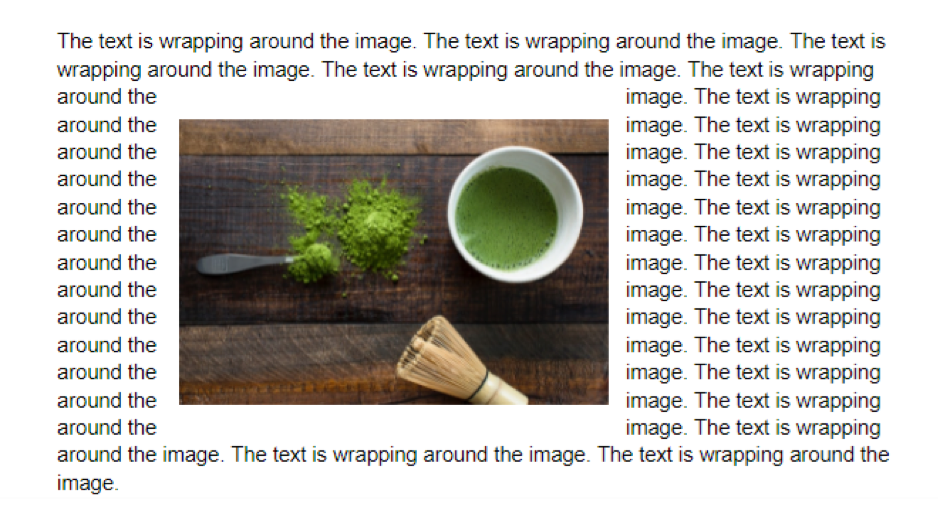
- Wrap text – It means that words may wrap around the image, either left and right or top and bottom.
- Break text – The text is either above or below the image. You can change the image margins, Top and Bottom.
It’s possible to select multiple files and drag-and-drop them into the document.
Option 2: Insert menu
Step 1: From the main Google Doc’s toolbar, select Insert > Image
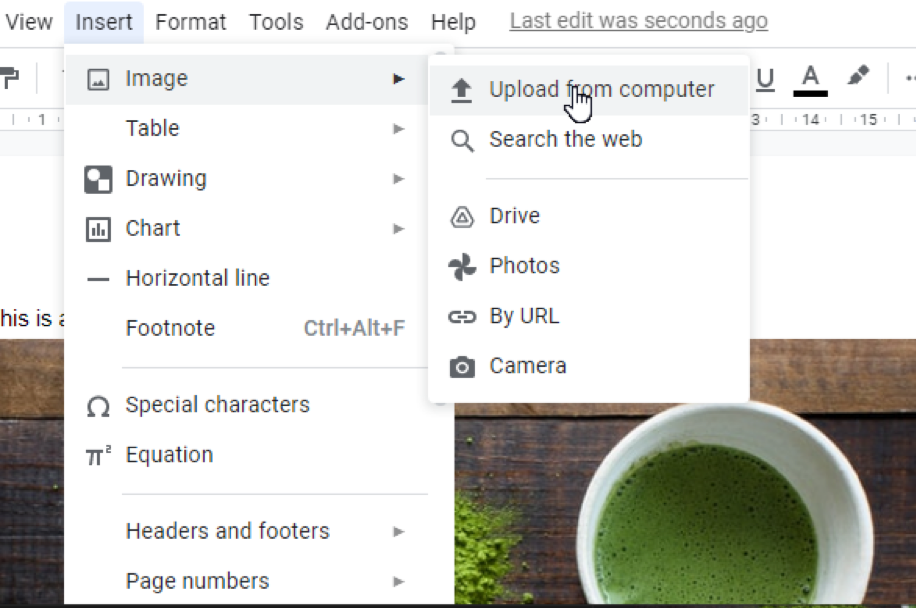
Step 2: Choose from 6 available options for inserting the image using the insert function:
Upload from computer
This option allows you to upload files from your computer to Docs. It gives you the same flexibility as the drag-and-drop function.
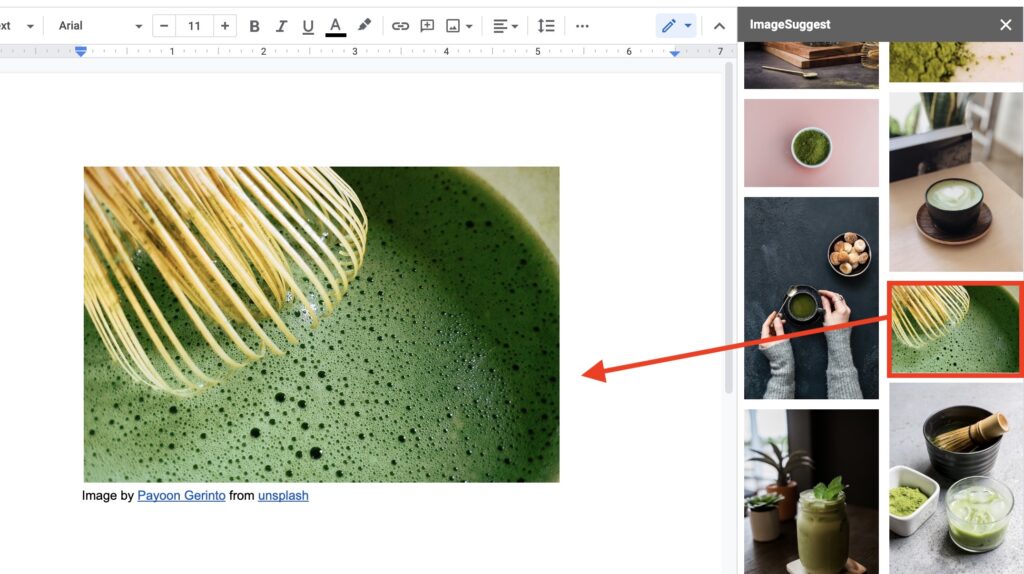
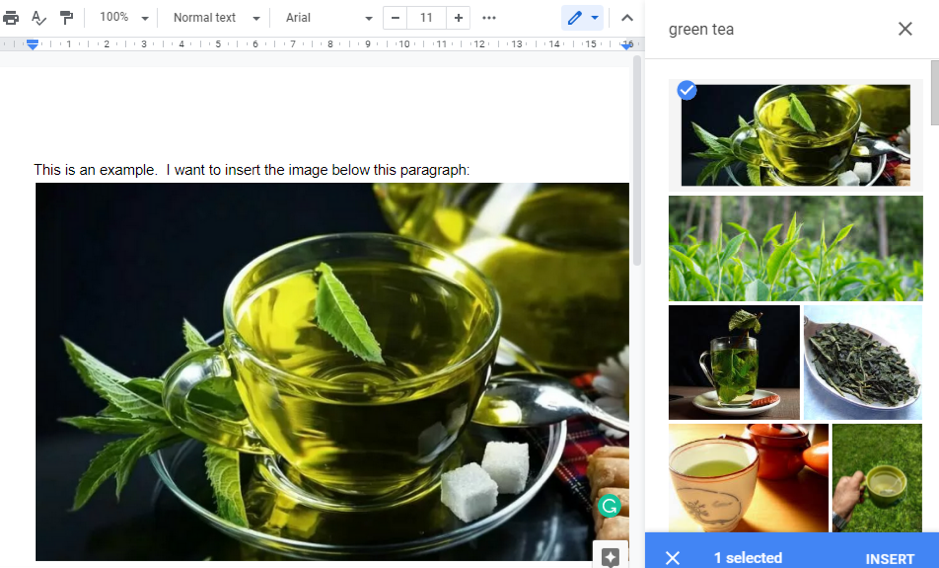
ImageSuggest
If you’re using our Google Add-on, you find the image through a manual search or automatic suggestion.

Then all you need to do to insert the image in the article is to click on it. The image will be inserted with its caption.
Search the web
You can search images directly from Docs using the Search tab displayed to the right of your screen.
Note that most images on Google image results are copyrighted. You should only use images that are free-for-use or find works in the public domain.
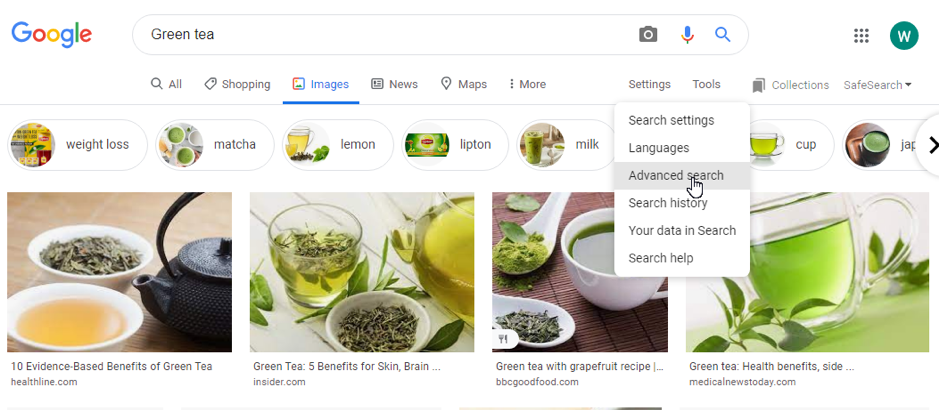
How can you avoid protected images on image search? Easy! Try the Advanced Search function. For this option, you’ll need to go to Google Images on a new tab. (https://www.google.com/imghp?hl=en)
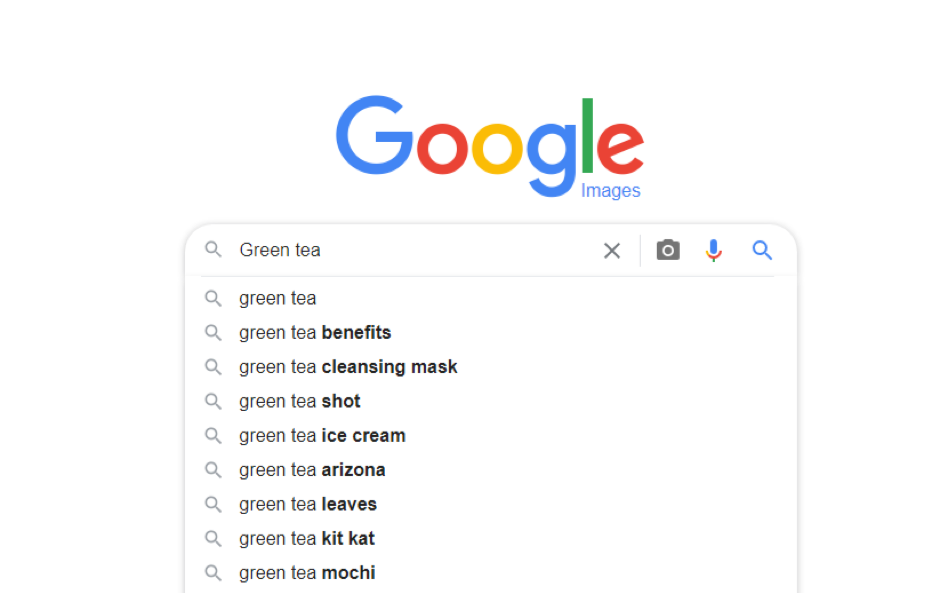
Search for “Green Tea” (example).
Select Settings > Advanced Search.
Modify the Usage Rights to filter for images under the Creative Common Licenses.
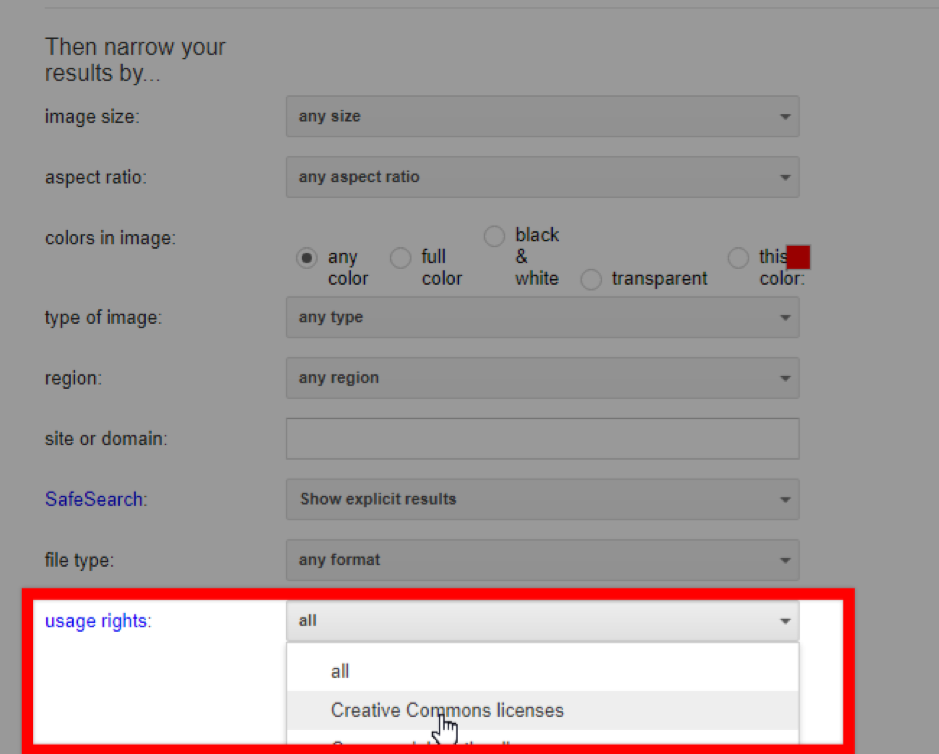
The images may be free to use with attribution. Be wary of usage limits. For instance, some free images can’t be modified or used commercially.
There are a lot of grey areas when finding images using image search. When in doubt, use free stock images with clear usage guidelines. Three of the best sources for free images with no-usage restrictions and no permissions are Unsplash, Pixabay, and Pexels.
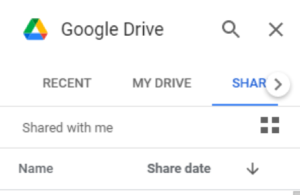
Google Drive
Docs allows you to access images saved on your Drive. You can also access images on shared folders.
Photos
Google Photos backs up photos and videos across your devices. It automatically organizes them and makes them searchable. You can find personal photos via Drive folders, but it’s much more convenient to use Google Photos.
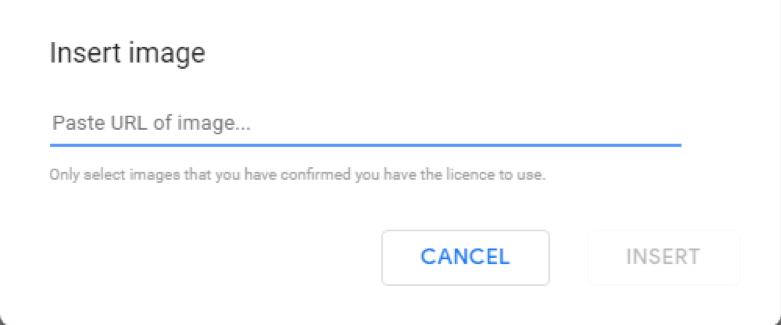
By URL
Adding images by URL allows you to access externally hosted photos. All you need is the image address, and there is no need to upload the image to your web server.
Hotlinking is generally frowned upon. That’s because you are essentially using another website’s bandwidth and resources. If the original owner updates the links, you may end up with broken images. But in some cases, the host website may permit hotlinking.
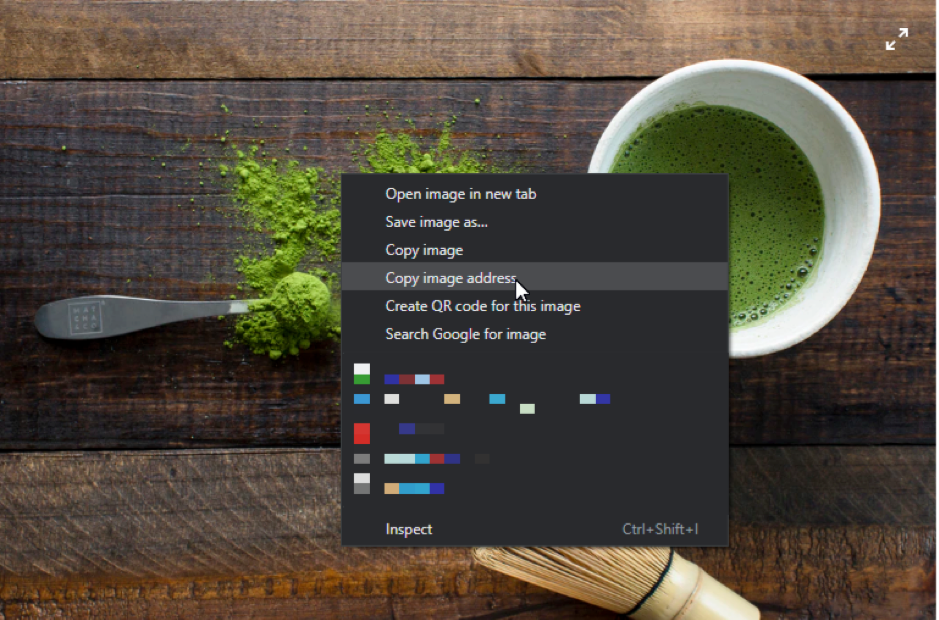
Docs will ask you to paste the image URL, and finding it is relatively straightforward. Once you have identified an image, simply right-click it and select view Image Address.
On Safari or Chrome on Mac, hold the ⌘ key and click on the image. From the pop-up menu, select “Copy Image Address.”
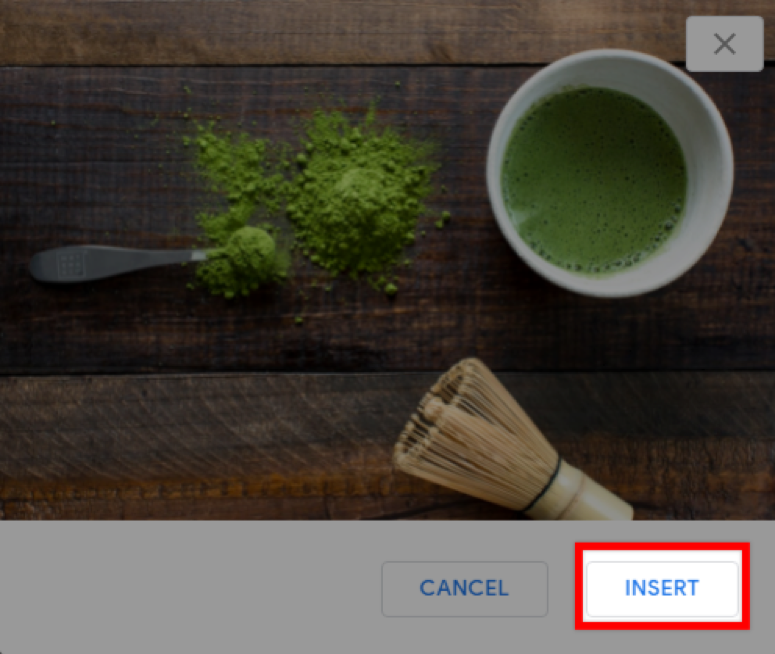
After pasting the address, Docs fetches the preview. You then click Insert to load the image.
Camera
Docs attempts to use the connected camera or webcam to take a photo and embed it directly.
How to Edit an Image in Docs?
Editing an image is equally effortless. You’ll be surprised by the configurations that Docs affords you. There are various ways to access the image editing options:
- Click on the image, and from the Main menu, choose Format > Image > Image Options.
- Select the image > More Options (three dots) > All Image options.
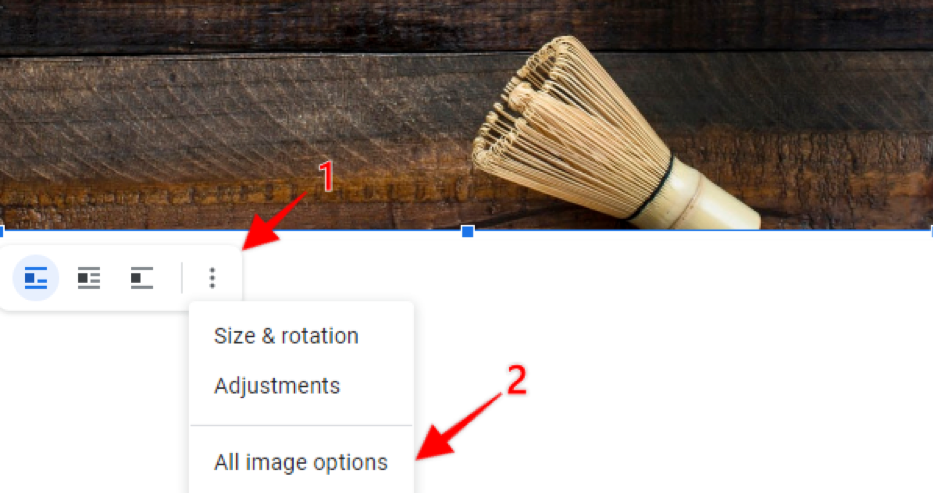
How to access the All Images Options G Docs
Here are some edits you can perform:
Size and rotation
You can modify the image size by adjusting the width or height scales. There is a Lock Aspect Ratio option to retain the same proportions after resizing.

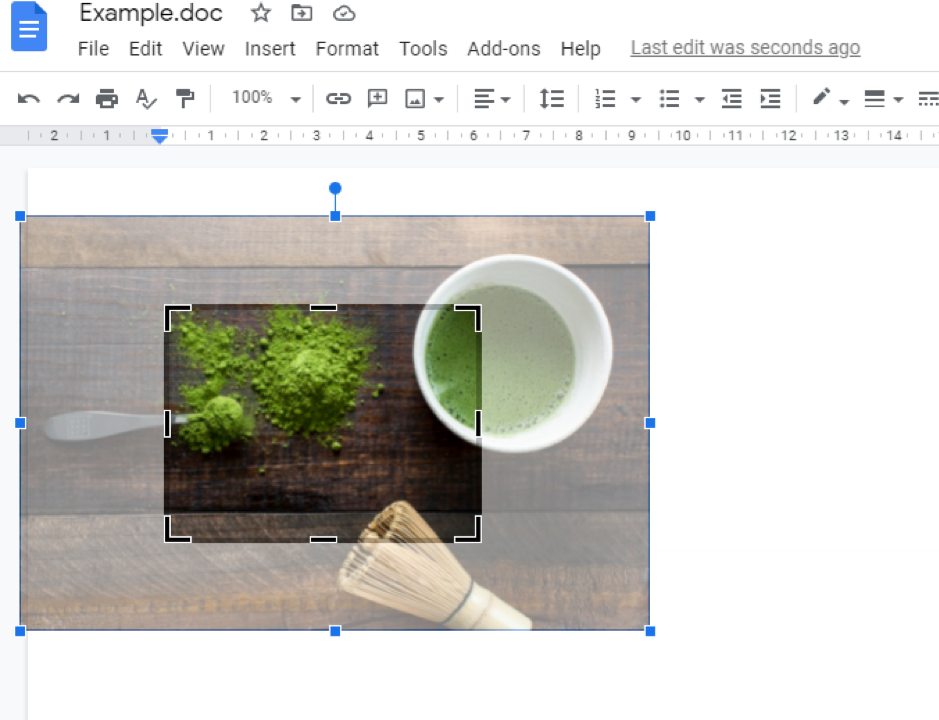
Cropping
The cropping feature is not included in the Image Options menu. But this feature is still available in Docs.
Launch the cropping feature by just double-clicking the image. Note that cropping an image does not delete the cropped parts. Someone can still view the full image by resetting the image or attempting to crop the image again.
Recolor
Recoloring the image allows you to change the color mode. Docs comes with popular options such as sepia, negative, or greyscale.
Adjustments
Adjustments include varying the transparency, brightness, and contrast. There is no need to hit undo every time you mess up. Docs provides you with a reset button to start over.
How to Add a Caption to an Image in Docs?
There is no official support for captions. But there are two popular workarounds to try:
1) Adding a caption with the Google Drawing tool
Step 1: From the main menu, select Insert > Drawing tool.
Step 2: Embed a photo using the provided alternatives (upload, URL, Drive, Photos, or Camera)
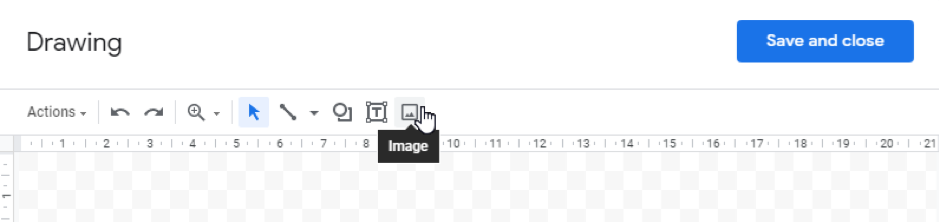
Step 3: Create a new text field from the toolbar by selecting the Text icon [T]. Position the caption at the center, left, or right of the image.
Step 4: Write the caption and click ‘Save and Close.’ The image will be added to your Google slides presentation or document.
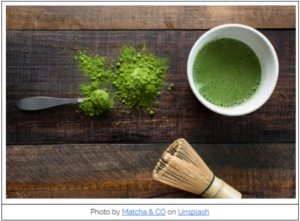
2) Adding a caption using an invisible table
The second way to embed a caption is to use a table that you hide by not adding color to the border or setting the color to white. It’s much faster than the drawing tool, and the caption is still editable.
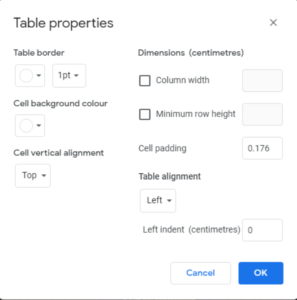
Step 1: Start by drawing a table with two rows and one column. From the main menu, select Insert > Table > Configure the table.
Step 2: Place the image on the first row, and write a caption on the second row. You can position the caption either center, left, or right.
Step 3: Make the table invisible by changing the border color. Select the entire table. Go to Format > Table > Table Properties > Table border color.
Can You Add an Alt-Text to an Image in Docs?
Yes, you can include an alt description and title to an image in Docs. Right-click the image to launch the pop-up menu and select Alt Text. Alternatively, use these quick keyboard shortcuts:
- CTRL + ALT + Y
- ⌘ + Option + Y
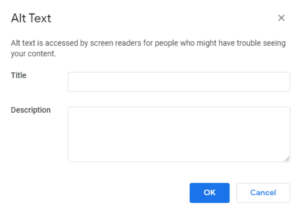
Including the Title and Description makes the document more accessible, ensuring visually impaired users don’t miss out on the full experience.
How to Add a Drop Shadow in Slides
The Drop Shadow feature was available in Docs as early as Nov 2017. At the moment, only Google Slides has built-in support for the feature. Start by embedding an image in Slides. Select it and from the main menu, choose Format > Format Options.
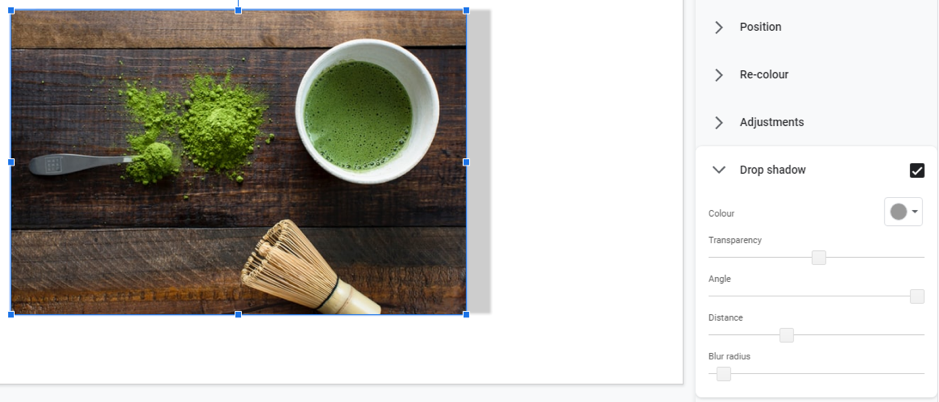
You can modify the shadow settings to your preference.
How to Save an Image From Google Docs
Do you want to download the images from Docs and upload them on WordPress? You may have noticed that when you right-click or control-click an image, there is no option to “Save Image As.”
There is one trick to try that doesn’t require any third-party extensions. Right-click the image and choose ‘Save to Keep.’ The image is added to the Keep Notes tab.
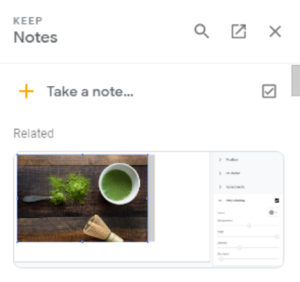
Right-click the image again from the Keep Notes tab. You should get the option to ”Save Image As.”
There are other methods available which we’ve described in an in-depth article about ways to save an image from Google Docs.
Conclusion
You now know how to place and edit images in Docs and Slides. But when in doubt, reference the official Docs Editors Help resources.
Do you spend a lot of time looking for the best free image to add to your blog posts? At times, you even search multiple free image sites only to miss a perfect match.
If this sounds like a typical day, you should try ImageSuggest, a free add-on that you can add to Google Docs. It leverages AI technology to suggest relevant images based on your text automatically.
You may also manually search for images without leaving your document. The images come from a variety of sources, including Pexels, Unsplash, and Pixbay.
Bonus tip: When transferring any images from Docs to your favorite CMS, remember to optimize and reduce the file sizes for a fast-loading website.